Learn How To Make
Stunning Metallic Epoxy Floors

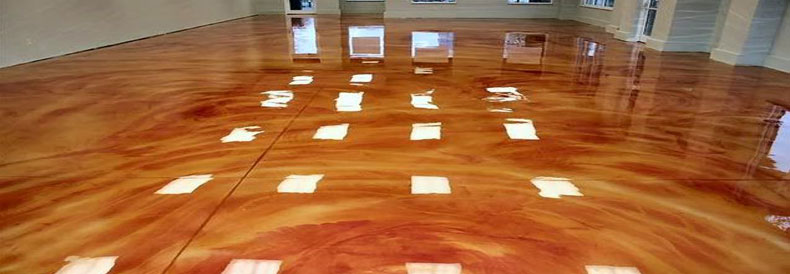
If you are reading this article, you have probably found out about the amazing new flooring system that has taken the country by storm, metallic epoxy flooring. If you haven’t, metallic epoxy floor coatings are a revolutionary flooring system that offers amazing finishes that mimic the appearance of fire, lava, waves and everything in between. So, what does it take to create this stunning flooring system? Well, it is recommended that you take a training course before you try, we can tell you what it will take to install a metallic epoxy flooring in your home! Down below, you will find what the pros do to install an epoxy flooring system so let’s get started.
Preparation

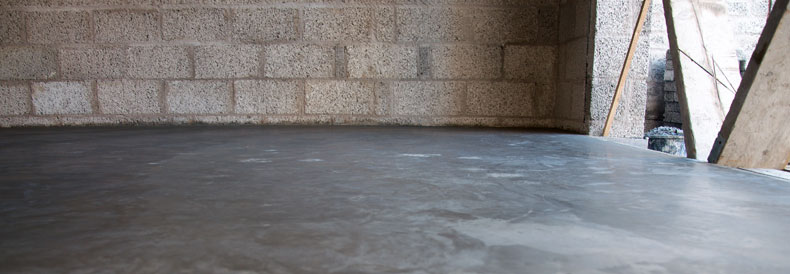
The most important step in the installation process of metallic epoxy is the preparation of the concrete slab. Preparation falls into 3 major categories: inspection, cleaning, and repair. To start, walk around your blank concrete slab and identify any problem areas like cracks, gouges or discoloration. Take pictures of your problem areas and make a note so you know exactly where they are so you don’t forget during the repair stage. Next, it’s time to clean and the cleaner the better. We recommend the use of a high output pressure washer to remove any caked-on dirt or remove debris from any cracks and gouges. Allow the slab to dry and begin the repairs of the cracks and gouges by using an epoxy-based crack filler. Now it’s time to profile the concrete slab.
Profiling Your Concrete

Now that you are sure your concrete slab is clean and fully repaired, it’s time to get the pores of your concrete slab open. This is where professional assistance can be a huge plus as they have the tools and the know-how to make sure your concrete is ready to accept epoxy. But if you have the time and money to do so, use a diamond wheel grinder to level the concrete slab and shave off enough material to expose the pores of the concrete. Make sure you equip your grinder with the proper hoses and vacuum system as there is going to be dust, a lot of dust. After a quick cleanup of the concrete slab to remove any excess dust particles, dirt or standing water, it’s time to start mixing up your product
Mixing Your Epoxy

In most cases, metallic epoxy comes in 2 parts, a primer, and the binder. Always make sure to look at your product information on the containers or spec sheet to ensure you are mixing the materials by the proper quantities, usually a 2:1 ratio. To mix, we recommend the use of 5-gallon chemical resistant buckets and the use of an electric mixing drill with a paddle. Now it’s time to get to work.
Applying Your Metallic Epoxy

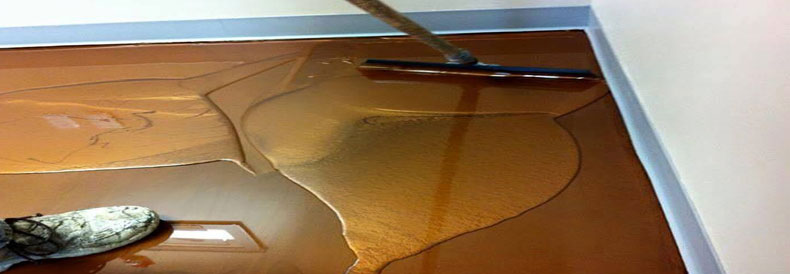
Before you apply the metallic epoxy, you need to lay down the primer. The epoxy primer can be applied using a roller pad. you will find that the primer has a working time and when the product begins to become hard to work with or roll back onto the roller, stop working with the material and mix up a new batch. When it comes to the actual metallic pigmented epoxy, it can be installed with a brush, roller, or serrated squeegee as long as thickness parameters are met. In terms of designing the epoxy, follow the rules on your materials label to see exactly what is required for your brand, not all epoxies are created equal.
Now that you know what it takes to install a metallic epoxy flooring system, it’s easy to see why so many homeowners opt into having their flooring professionally installed. A professional metallic epoxy contractor can install your epoxy correctly, faster and offer a warranty on their work so in some cases they may be worth the extra cost. No matter what you decide to do, DIY or hire a contractor, we wish you the best of luck on all of your home improvement projects to come.

